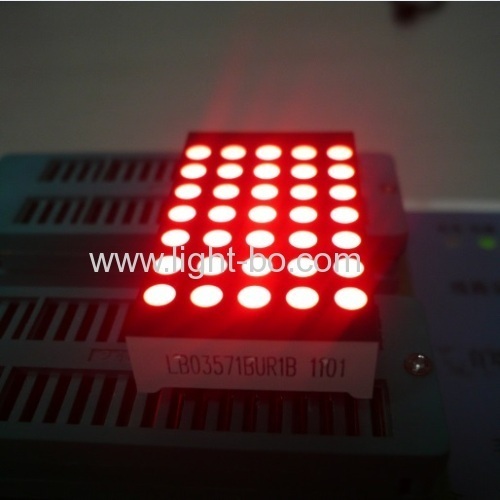
Programming a Dot Matrix LED Display involves writing code to control each individual LED in the display to create patterns, text, or animations. Here are the steps to program a Dot Matrix LED Display:
Choose a microcontroller: Select a microcontroller that is compatible with the Dot Matrix LED Display. Popular choices include Arduino, Raspberry Pi, or ESP8266.
Wire the display: Connect the Dot Matrix LED Display to the microcontroller according to the manufacturer's instructions. Make sure to connect the necessary pins for power, ground, and data.
Write the code: Use a programming language such as C++, Python, or Arduino IDE to write the code for controlling the Dot Matrix LED Display. You will need to address each LED in the display individually to turn them on or off.
Define patterns: Create patterns, text, or animations by turning on and off specific LEDs in the display. Use loops and conditional statements to control the timing and sequence of the display.
Upload the code: Upload the code to the microcontroller and run the program to see the patterns displayed on the Dot Matrix LED Display.
Test and debug: Test the display to ensure that the patterns are showing correctly. Debug any issues in the code by checking for syntax errors or logical mistakes.
By following these steps, you can successfully program a Dot Matrix LED Display to create custom patterns and animations.
